The Legend of Zelda: Tears of the Kingdom
Quick Links
The Legend of Zelda : Tears of the Kingdomis one of the big games of the last five yr , and its"Find the Fifth Sage"quest exemplifies some of the best things about it . The gameis a chef-d’oeuvre of game exploitation innovationandreimaginations ofZeldaclassics , so it ’s no surprisal that its quests are as in - depth as they are . While the pursuance to find the Fifth Sage is complex , it ’s a story mission that players will not presently forget .
This quest takes place after players have complete the " Regional Phenomena"locations and talked to Zelda after the"Crisis in Hyrule Castle"quest . Once you ’ve gathered all four Sages together , they will mention that one of them is still missing : the Fifth Sage . Talk to Purah , who will start the"Find the Fifth Sage"quest .
It ’s long since been confirm that the Master Sword is broken in TOTK , but just how - and whether it can be indemnify - are only unwrap in - game .
How To Prepare For The “Find the Fifth Sage” Quest
Start The “Secret of the Ring Ruins” Side Quest
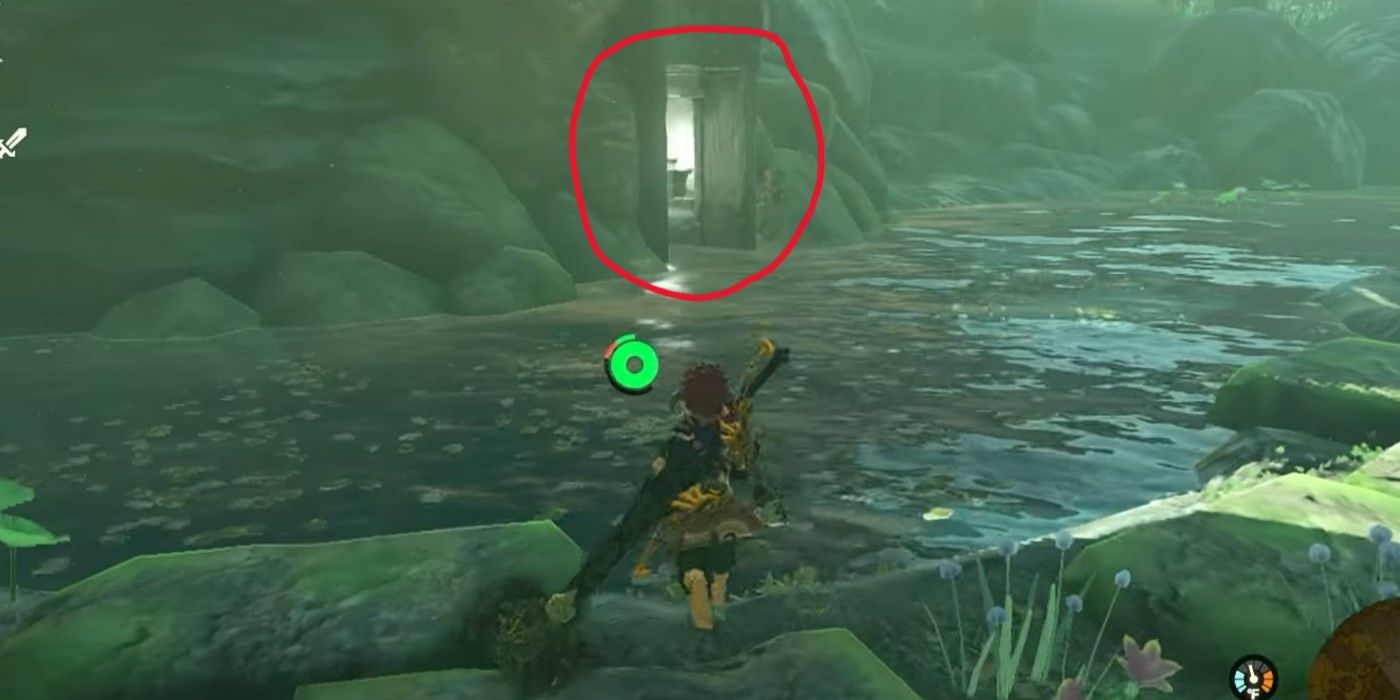
When you spill the beans to Purah in Kakariko Village , she observe " ruins from the old age of legend . " This refers to the nearby Ring Ruins , which you should have already impose earlier inTOTK . To fill out this seeking , you willneed the television camera function on your Purah pad , so ensure that this function is useable before you channelise out .
You technicallydon’t need to dispatch this questto finish the Fifth Sage quest , but it will make later tone of the quest much gentle .
After talking with Purah , rise the staging in front of her and utilise the Ascend ability to hand the annulus ruin she name . Take a picture of the stone slab inside , then return to Purah and show her what you ’ve find . She and Tauro will then leave the area , heading to the Popla Foothills Skyview Tower , where Tauro can be found inside some nearby ruins .
Custom Image by Katarina Cimbaljevic
within , he will speak about the ruins and the puzzle they halt . Opening the Zonai chest above him will give you the Charged Shirt , the first piece of the Charged armor exercise set . Put it on , and after blab out to Tauro again , he mentions something about the armor put being related to dragons somehow , but he ’s still determining much else .
It ’s worth noting thatTauro is n’t talking about existent dragons , though you canfarm Dragons for voice , but rather the Dracozu Lake and River , which form a large ophidian shape .
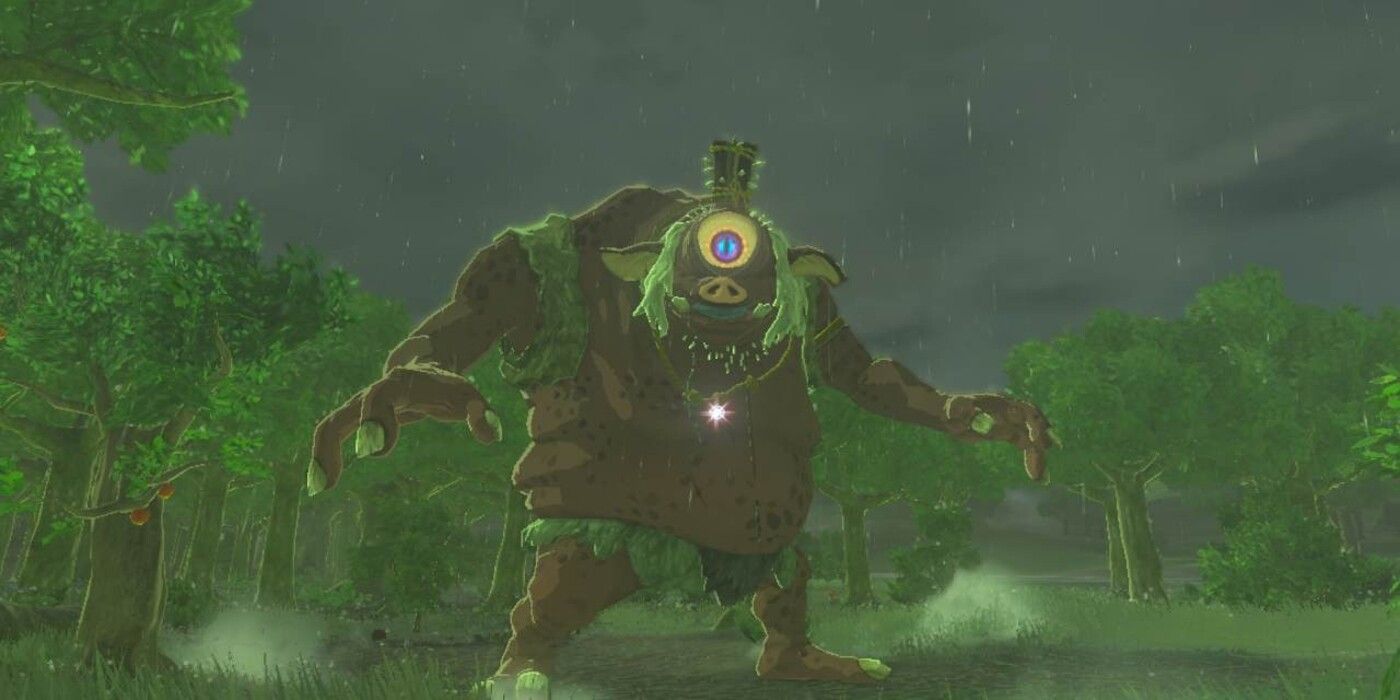
A Hinox is an ogre boss found throughout split of the Kingdom who drop both ingredients and monster share . Hinoxes are both above and below land .

Again , along the mode , you will see another stone door blocked by vines . Burn them off andenter the way to find the Charged Headdress . This is the third musical composition of theCharged armor circle . Put on all three piece of the set , and make your means towards the ruin at the remnant of the river .
You will see an Lord’s table in the ruins in the lead . drop a Zonai charge here with the outfit on will trigger off a cutscene and also complete the"Secret of the Ring Ruins"quest . The storm obnubilate around the sky island in the southern part ofZelda TOTK ’s mapwill clear . Next , head to the Thunderhead Isles via the Popla Foothills Towerand continue with the next spot of the pursuit .
Thunderhead Isles and Dragonhead Island
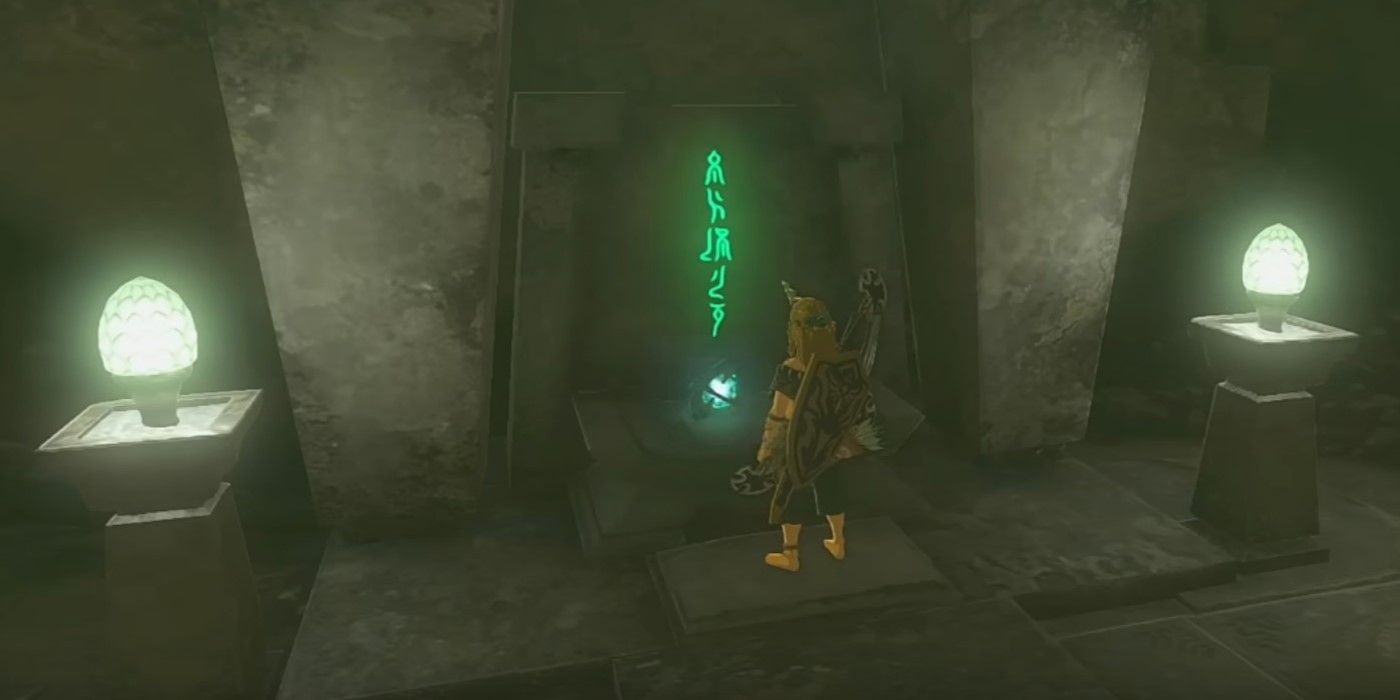
Once you arrive at the Thunderhead Isles , go up up to glide back toward Dragonhead Island . In the Island ’s midpoint , there is a big stone building . Head at bottom and drop onto theZelda TOTK ’s Joku - u Shrine . Burn the vine and head deeper into the Island , and you will achieve a threshold ask at least ten bosom to open . Open it up and interact with the masque inside to continue your pursuance .
How To Complete The “Guidance from Ages Past” Quest
Find All Robot Pieces
Once you touch the masquerade party on Dragonhead Island , a optical maser will shoot out and point to below the island . Pick up the mask , lead out through the room access that appear , and make a flying auto with the mask attached anywhere on it to take it with you . fell to the location the laser is pointing to , take the masquerade party off your flying widget , and then take it to the plinth the optical maser indicate .
What makes the journeying of Zelda : Tears of the Kingdom memorable is this exercise set of scenes that stick to with you long after wind up the game .
After watching the cutscene , pick the mask back up and place it on another footstall . Make trusted to have plenty of burnished blooms with you , as this pedestal will transmute into an elevator , claim you to the Depths . A Lightroot will be nearby;grab the masque , spark off the Lightroot , and then employ Ultrahand to put the masquerade into the masquerade - mould slot in the robot cast nearby .
The next part of the quest is quite long , so warp in . You must collectall four robot pieces disperse around the areaat the desert depots that Mineri cite . This is where your brightblooms will come in handy ; glide down and run away up the giant frame to the Frederick North .
Right Leg Piece Location
Using Ultrahand , put the box onto one of the elevatorsand activate it to get the box seat up to the long rail above . Hook the box onto the rail , thengrab one of the lover off the elevator and stick it to the box . Finally , turn on the fan , push the box up the rails . Keep pushing the corner until you reach the top of the shelf , where you will receive everything you involve to build yet another vanish machine . take flight the box back down to the moldand stick around the leg at heart .
Right Arm Piece Location
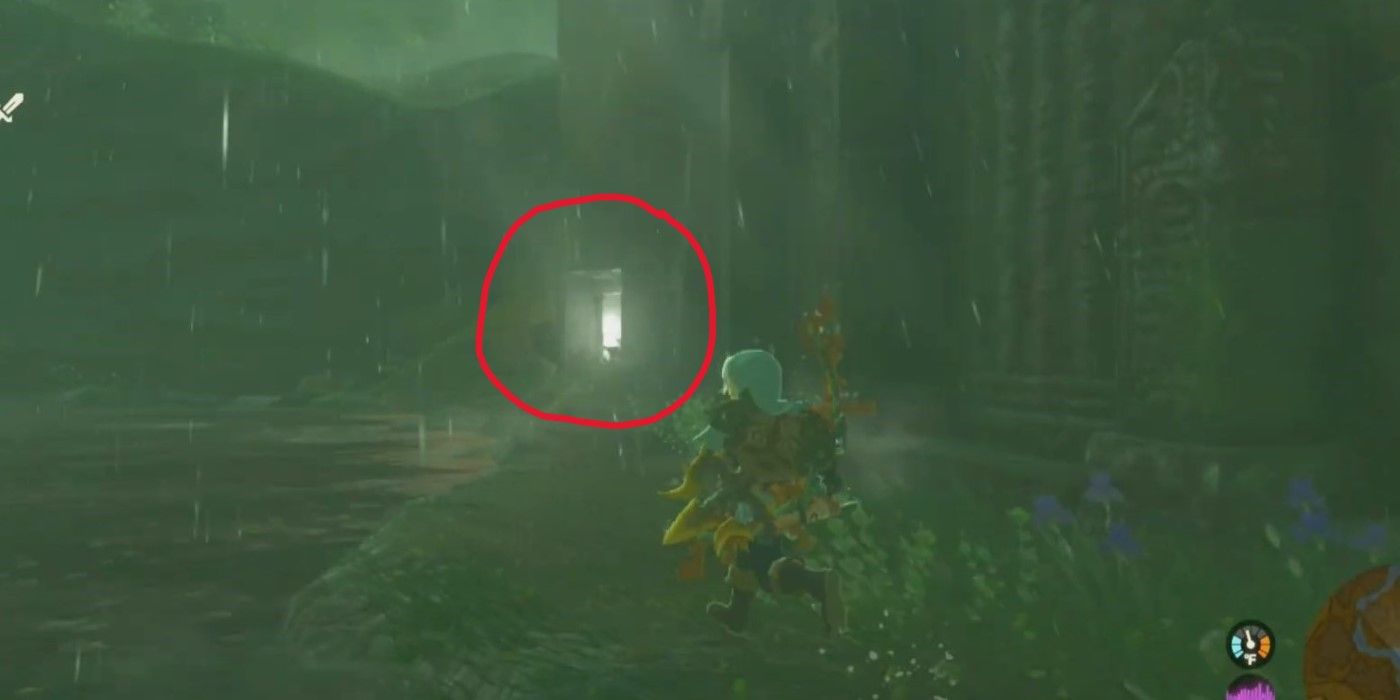
Head back up to the top of the ruins like you did before . Jump off and glide west , get for an entering lit by two fleeceable lamps . You might postulate touse Tulin ’s malarkey to get there , so be ready to give yourself that extra boost .
To get the right arm inZelda TOTK , trip the Lord’s table like you did before . Use the conveyor belt to charge the branch up and head on after it . Here , you will seequite a few building material you could useto get the box across the chasm .
Left Leg Piece Location
To the east ofZelda TOTK ’s Muokuij Lightrootlies another depot ; head there andactivate the altar to get the next boxfor your golem . Again , take a look at theGamers Heroesguide below for visual help . Place this box in an elevator , turn it on , and send it up . Once the box has arrived , reel the crank to aim the bridge towards an overhead shelf at a somewhat extortionate angle .
With the bridge in berth , sequester two rockets to the side of the box seat . Add a steering stick onto the top . advance up to that shelf , take the box out of the store with Ultrahand , and place the leg into the mold .
Left Arm Piece Location
This depot is the gentle to reach from the molding . Headsouthwest on animal foot to find yet another doormarked by two fleeceable lanterns . If you ’re unsure where to go , check out theGamers Heroesguide . Activate the altar inside to get the arm , then get to the door to the side and bring the boxful through .
On the other side , the door will havetwo wheels , which you may transfer and impound to the boxto make a rolling fomite . Then , you could plop the steering peg onto the top , hop on your railcar , and drive through the lava .
At the next non - lava plosive consonant , take the wheels and move them to the little side of the box to make a widecar inZelda TOTK . Then , tantalize this new , blanket vehicle across the lava . At the next room access , take one of the wheel off your spacious carand confiscate it to the door the means it was in the first elbow room . start the door , thenattach one of the fans on the other sideto the back of the box .
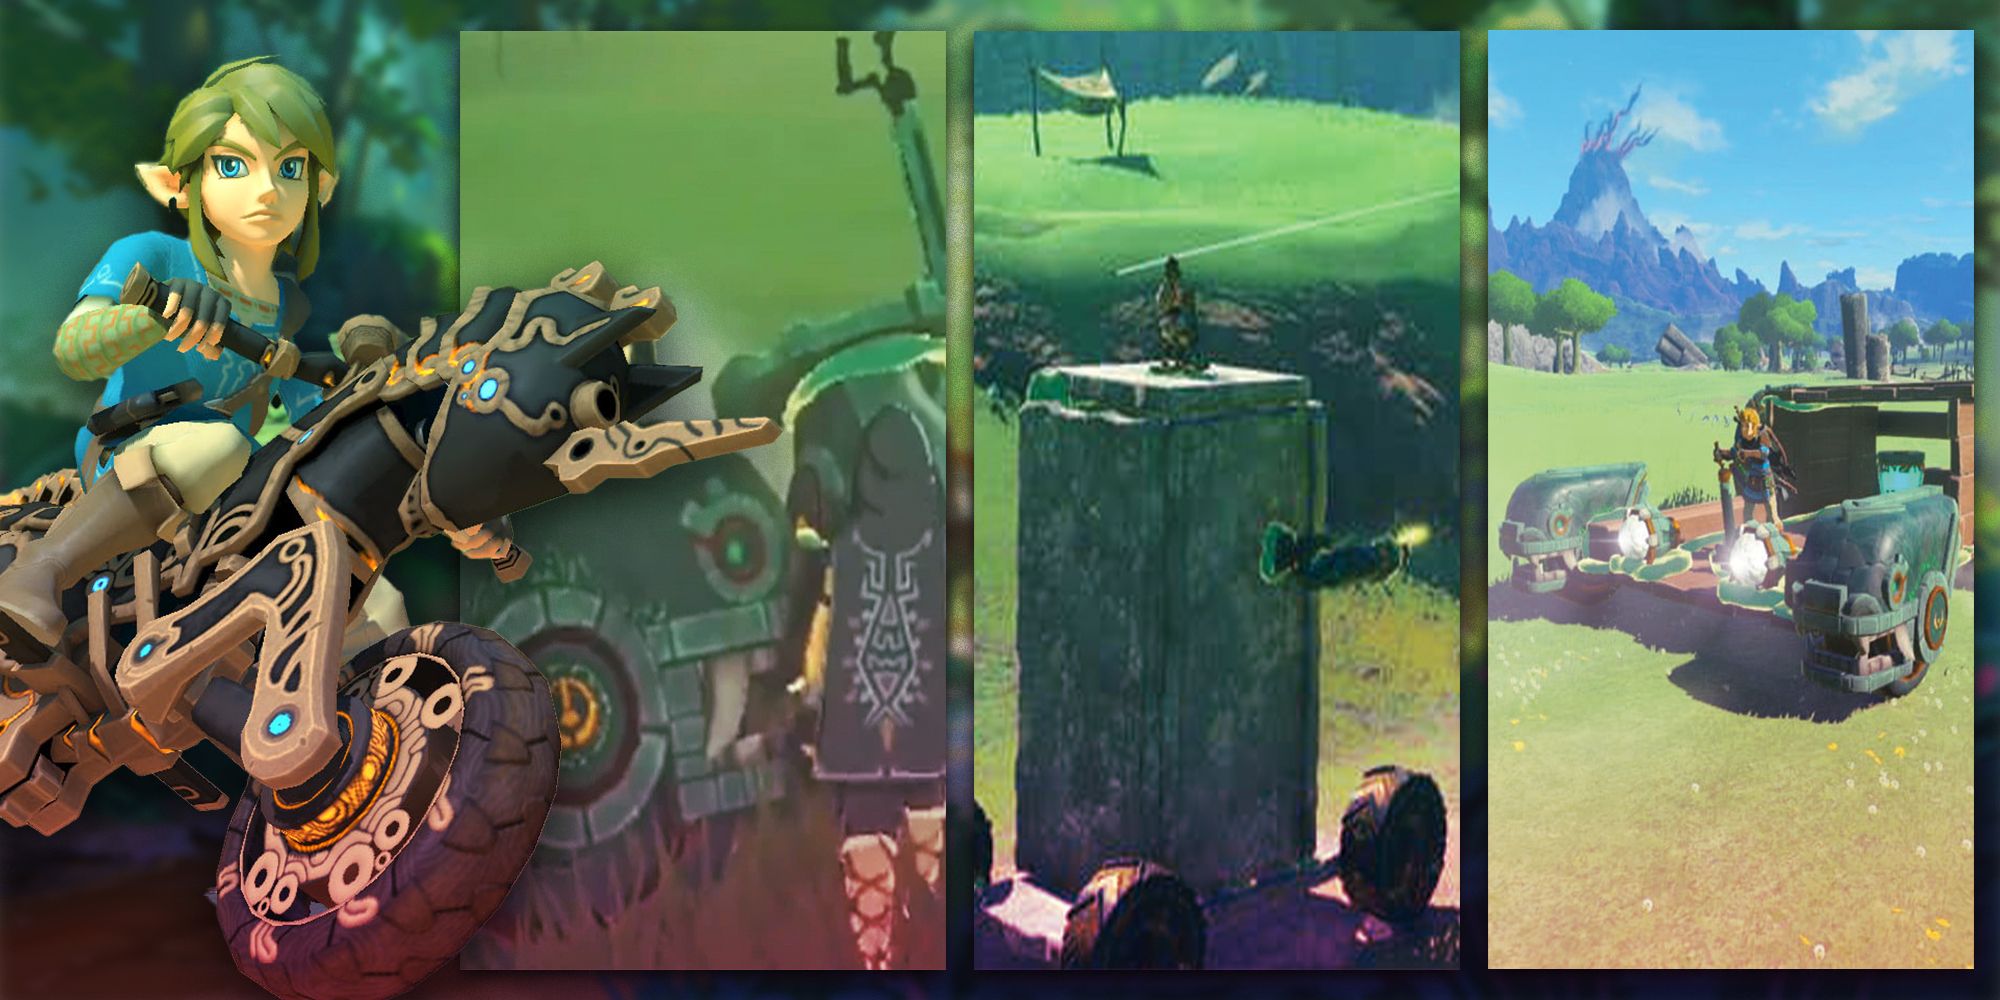
There are dozens of different vehicle Link can craft using Ultrahand and Link can even redeem his most useful builds for by and by using Autobuild .
shake off this fresh creation into the piddle nearby and touch off the lover tosend your raft down to the mold . Once it gets there , grab it out and place it in the mould . The golem will pop out , amply formed , and join you on the next steps of the quest .
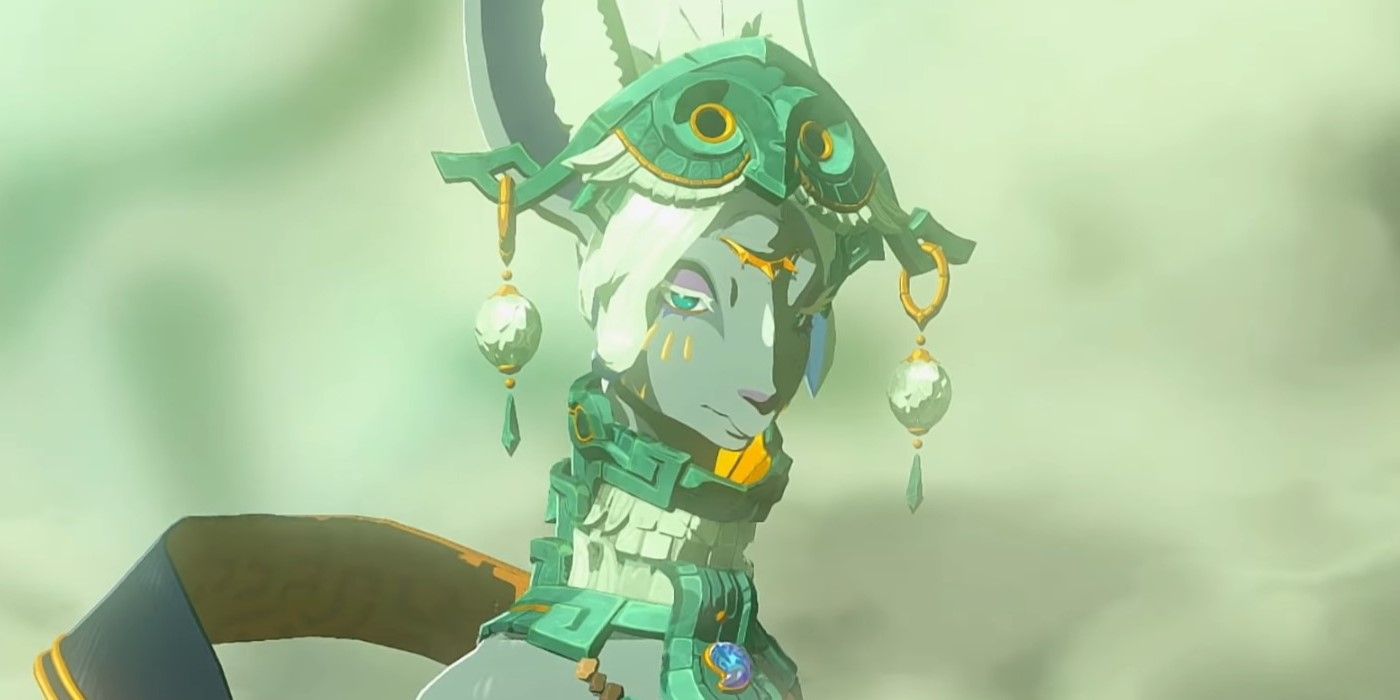
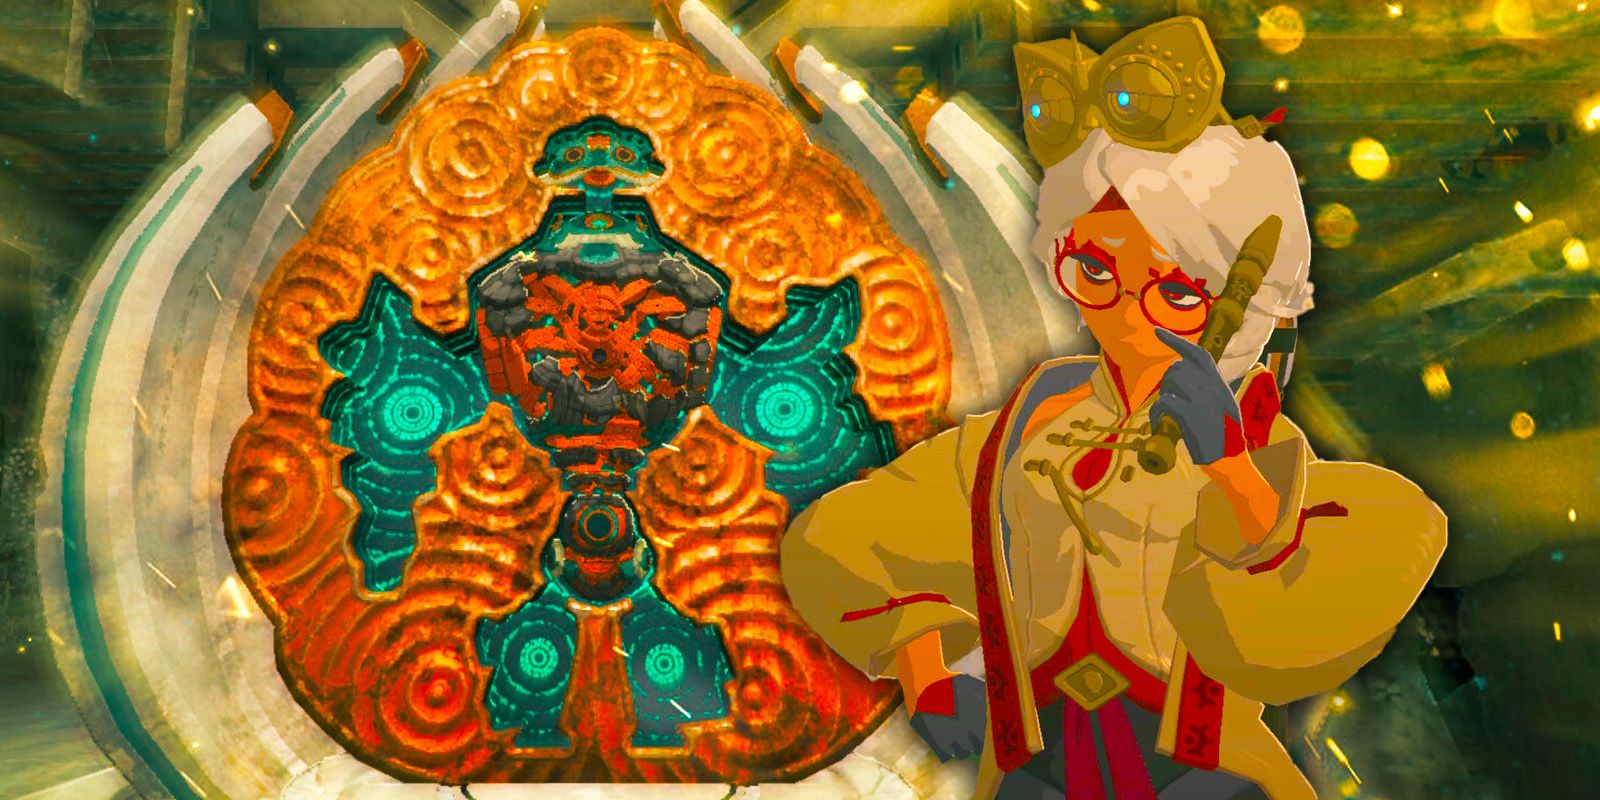
Mineru’s Golem & The Spirit Temple
On the way to the Temple , you could pick up a cannon at the Sijotu Lightroot . This cannon will assist kill the honcho of this questline , so pick up at least one andattach it to your robot friend . Nearby is a rock wall that you may burst using the Golem .
Crossing through that broken rock wallwill bring you to another armoury , this one containing a mess of rocket salad . Use the skyrocket to fell up to the Spirit Temple . Inside the synagogue , a fight look .
How To Beat The Seized Construct Boss
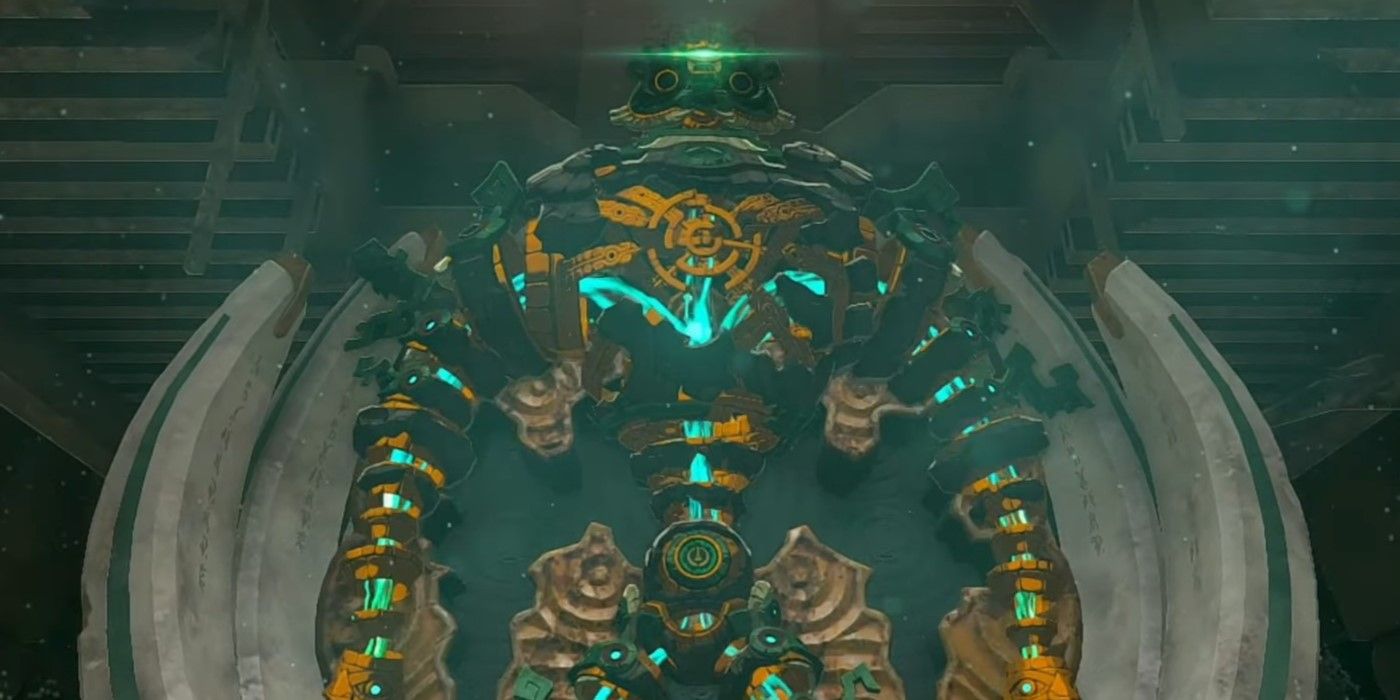
Interact with the statue in the substance of the room . On your way in , you will be lurk by the Seized Construct , a giant automaton that can only be contain downusing the Golem you ’ve make . This is where that Zonai shank will come in handy .
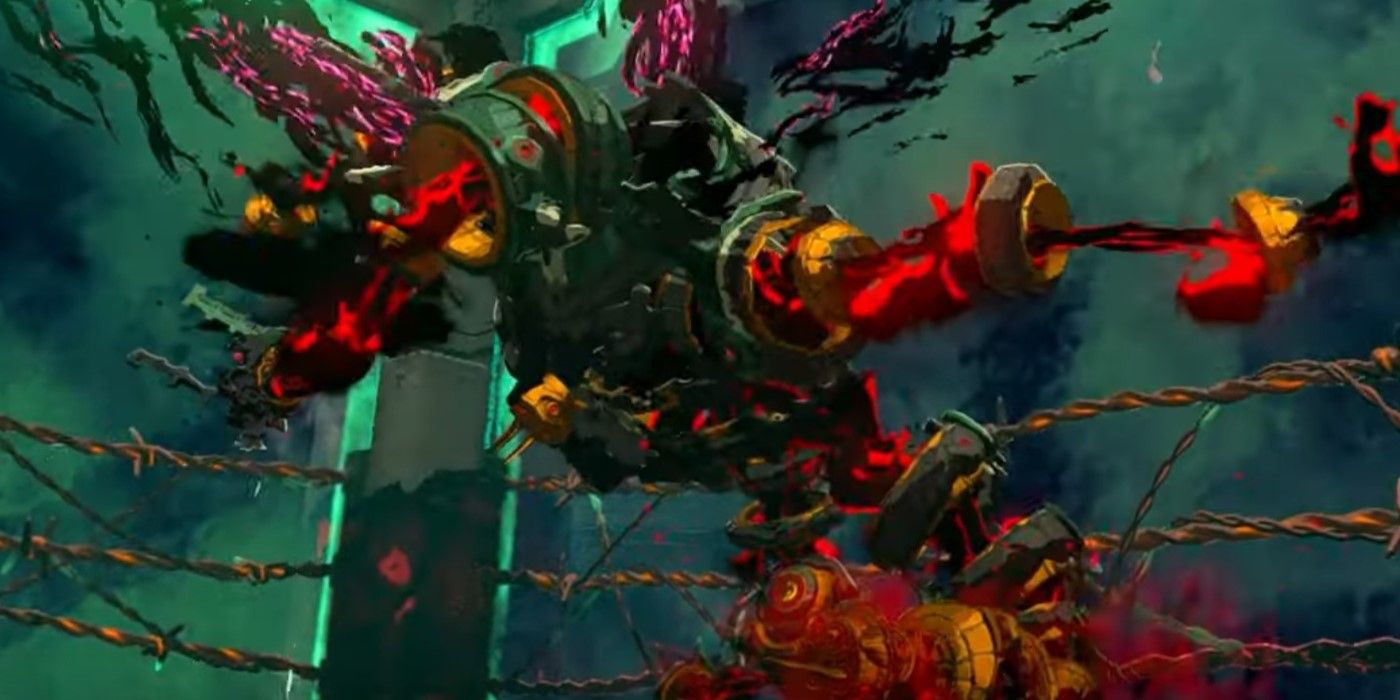
Your weapon will do small damage to the Construct ; however , you ’re not using the cannon for weapon damage . Instead , use the cannon to sandbag the Construct , then smack it intothe barbed wire around the orbit to go down on it up . Once you ’ve gotten the Construct to half wellness , it will begin to beak up attachments and become able to aviate .
Wait until it channelise upward , thenuse your carom like before to blast it out of the air and into the waiting barbed conducting wire . This strategy should earmark you to avoid damage and take care of the Seized Construct relatively cursorily . After you ’ve beaten it , head to the pit , end up the temple , and trigger some cutscenes with Mineru .
Complete The “Find the Fifth Sage” Quest
Mineru will need to insure you ’ve stimulate theMaster Sword inZelda TOTK , so if you do n’t have it , get it . She will give you her Sage ability , which allows you to summon her Construct at will . lead back to Purah with the Master Sword and all your Sage ability to complete your quest .
As one of the protracted quests inThe Legend of Zelda : Tears of the Kingdom , the"Find the Fifth Sage"quest is surely one to recollect . Whether you ’re playing this secret plan for the first time or revisiting it after a farseeing break , there are plenty of iconic present moment that make this plot great .
generator : Gamers Heroes / YouTube